Sunday, April 10, 2011

1866 Game Wrap Up

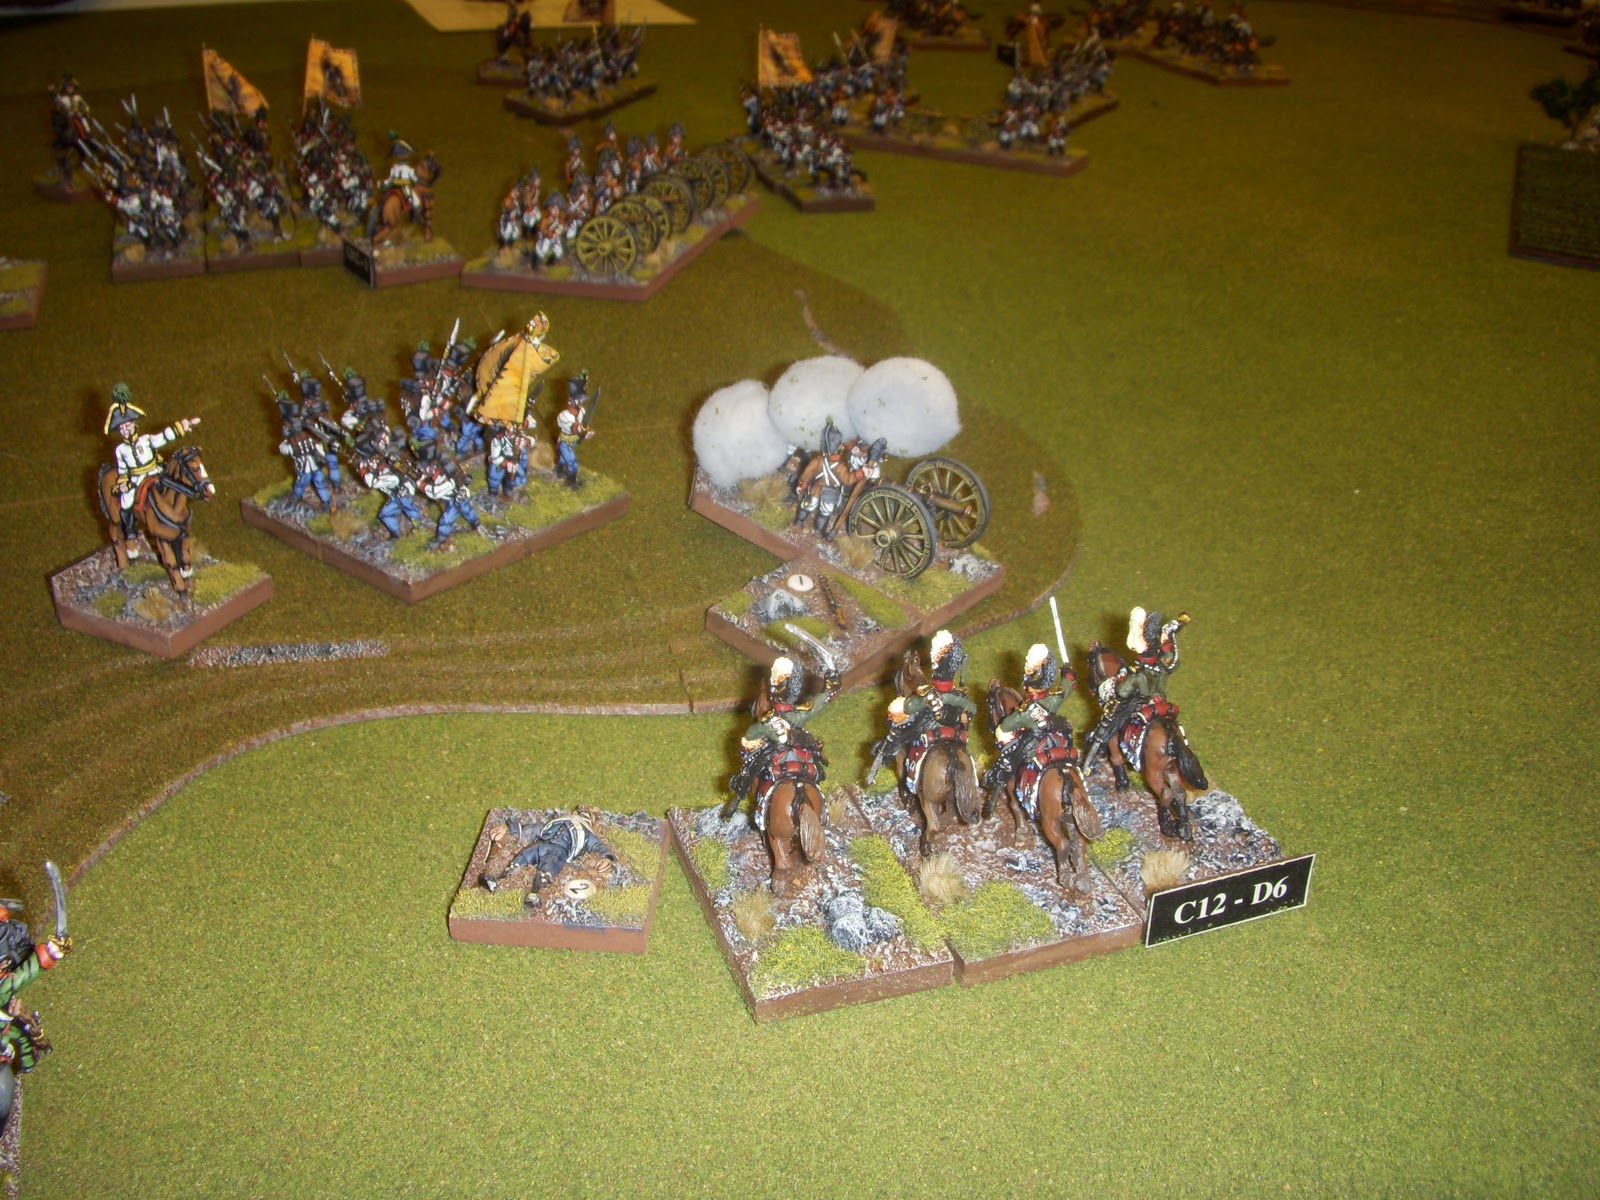
Finishing up with the photos from last week's 1866 game:  The Austrians massed a line of artillery in the center of the battlefield at effective range and (gasp) took time to soften up the Prussian infantry and artillery.  This allowed the Austrian infantry, spearheaded by Jaeger and Grenze units, to close and crush the Prussian line.  Well played by the Austrians!  (John, Ed, Greg R., Brad)   Maybe next time, Prussians!  (Chris, Greg C., Terry).

Austrian cavalry swing toward the flank

Austrian gun line appears depleted...Prussian guns have done some damage!

Jaegers close on a Prussian battery

Austrian infantry flow through their gun line

Austrian Jaegers protect a flank near a Class II river

Defiant last stand of the Prussian center...holding on to the end...standard waving in the breeze

Friday, April 8, 2011

1866 Game - April 2

I'm a bit behind - this game photo summary is of last week's Austro-Prussian 1866 game.  The Austrians had a substantial numerical advantage - 24 units to 14.  The Prussians held on valiantly, but the Austrians ended up steamrolling them in the center of the field. 
Here come the Austrians!

Austrians come over the hill to attack the Prussian left flank

Now THAT is a gun line....facing the Prussian center


General Toby makes a new friend

More in a later post.......

Wednesday, March 16, 2011

Book Review: With Zeal and With Bayonets Only

"With Zeal and With Bayonets Only: The British Army on Campaign in North America, 1775-1783" by Matthew H. Spring.

Its easy for me to give this book a D12+1 on the die scale for reviews (D12+1 is the highest, a D4 is the lowest).

What can I say?  This is simply a magnificent work.  If you have ANY interest in the AWI, you should read this. 

This isn't a campaign, or battle history.  Its about the inner workings of the British army, with tons of snippets sprinkled throughout to give a flavor for the action.  If you want to know "how things work" - buy this book....NOW.  I think its on Amazon for around $18 in paperback now.

The chapters will give you some idea of the contents:

The Army's Task
Operational Constraints
Grand Tactics
March and Deployment
Motivation
The Advance
Commanding the Battalion
Firepower
The Bayonet Charge
"Bushfighting"
Hollow Victories

I've come away with a greater appreciation for the challenges faced by the Brits, as well as the flexibility in their tactical abilities.

Buy this book - you will not be disappointed.

Sunday, March 6, 2011

Franco-Prussian Game Report

We had a great, unique FPW game last night.  Chris' friend, Mike LaVigne was in town, and was able to make the game.  I believe it was the first time he's played Field of Battle, or seen Field of Battle played.

The scenario generated by the player's decisions resulted in a Prussian force outnumbered by 20% deployed essentially across the short end of the board, primarily behind a Class II railroad embankment.  The French had deployed across most of the table width, so 2/3 of their army had a long march to get to the engagement. The Prussians were outgunned, with 1/2 of their artillery not making it to the battlefield.  Obviously the Prussian army was in no mood to fight...rolling up only 15 Army Morale Points, to 24 for the French.

The Prussian 2 right command groups were pushed over the railroad and toward the French left flank wood on their baseline.  A stiff fight resulted between the Prussians and defending Turcos.  Most of the Army Morale Points lost by both armies were lost in the fight for the woods.

The French were surprisingly fast in recovering and moving their army to attack the Prussians.  The French right flank, under General "Triple Move" Mumby moved at an unbelievable speed.  I've never seen so many triple move rolls in a single game.  I think General "Triple Move"'s troop moved around 8 to 9 feet to crush the Prussian left flank.

By the time the French closed on the Prussian right flank (now commanded by me, as Chris and Mike had to scoot to make the start of the Colorado Avalanche vs. Edmonton Oilers game), only 3 Army Morale Points remained for the Prussians.  A devastating attack by the French, multiple UI losses for the Prussians...and wouldn't you know it - the turn of the Army Morale Card!   The Prussians failed on the first try, and the game ended with a decisive result in around 2 1/2 hours (19 units for the French, 15 for the Prussians).

 The initial deployments.  The French army is deployed across the table (left side of photo)...the Prussian army is way, way down on the end of the table...

 French commands on their right flank

 French commands in the woods on the French left, soon to be under attack

 Prussians cross the railroad and move to the attack on the woods

 French right flank leaps into action and starts to close on the Prussians

Prussians deployed behind the Class II cover of the railroad embankment

French cross at the ford

Prussian attack begins to falter as the Turcos bloody the Jaegers

A sharp looking unit of French Chasseurs

More French cross the river

The end comes quickly for the Prussian left flank as the French under Genl. "Triple Move" Mumby close in.  There used to be Prussian infantry in the gap at the railroad...they're routing now, out of the photo.

The French reserves ready to crush what remains of the Prussian left flank.
Sunday, February 13, 2011

Why does it always suck? Part 3

On to the final report of the last game - 1809 Austria/France.

The shredding of the Austrian right flank begins.  Genl. Caudill's French close on Genl. Shockey's Austrians.

Huh?  What?  After marching off the center ridge, the bulk of the Austrian army stops, turns around and marches back up the ridge.

Meanwhile, the French continue to pound the Austrian right flank.

Genl. "Speed Bump" Shockey's Hungarians, stiffened by artillery form square and prepare for cavalry.

Left to right:  "Speed Bump" Shockey, "Woodland" Mumby, "Let it be noted that I wasn't here when this plan was made" Miller.

The final throes of Speed Bump's command.

There's fewer of Speed Bump's command than there were just a while ago...

Anyway - that's the game!  The French were outnumbered by about 30% - the Austrians started with 20 army morale points and the French started with 13 army morale points.  At the end of the game, the Austrians were at 0 and failed army morale, while the French still had around 10 army morale points.  The Austrians fought the bulk of the battle with a badly outnumbered right flank and the mass of the army effectively sat out the battle on the ridge...then off the ridge....then back on the ridge.  The Austrian left flank cavalry brigade looked to be in a threatening position, but the timely arrival of French forces staved off their assault.   Another crushing French victory!

Meanwhile - my current project is a pretty massive terrain effort.  More of that later.

Monday, February 7, 2011

Why does it always suck? - Part Two

The French left flank and Bavarian Center


The White Horde (WH) lurches forward off of the central ridge


The French flanking force prepares to crush the WH's right flank.  Bits of the WH can be seen at the top of the photo.

Form Square!  French battalion forms square due to a threat from....


These guys!  Austrian cavalry brigade thunders toward the hanging French right flank.  The two French infantry squares can be seen in the distance.

A close up of the two French squares.

What will happen?   At this point, the French appear poised to do some damage to the Austrian right, while the Austrians are beginning to muddle forward toward the French right.  Stay tuned - more photos to follow!

Sunday, February 6, 2011

Why does it always suck?

This blog title comes directly from Eric Miller in last night's game, as he watched the Austrian army that he was part of get thrashed by an outnumbered French army (1809).  Eric seems to have been on a losing run, and has seen his share of difficulties in getting his commands into action and successful.  In last night's game, Eric commanded the Austrian cavalry on their left flank.  Everything was going well, (on that flank) as his cavalry bore down on two lone French infantry battalions that had hurriedly deployed into square.  At about that time, a mixed Command Group of one each cavalry/artillery/infantry units appeared to his left flank, arriving onto the battlefield late in the battle.  After taking fire, getting meleed, and seeing the sweeping Austrian attack blunted....Eric said "Why does it always suck?".
On to the battle report!

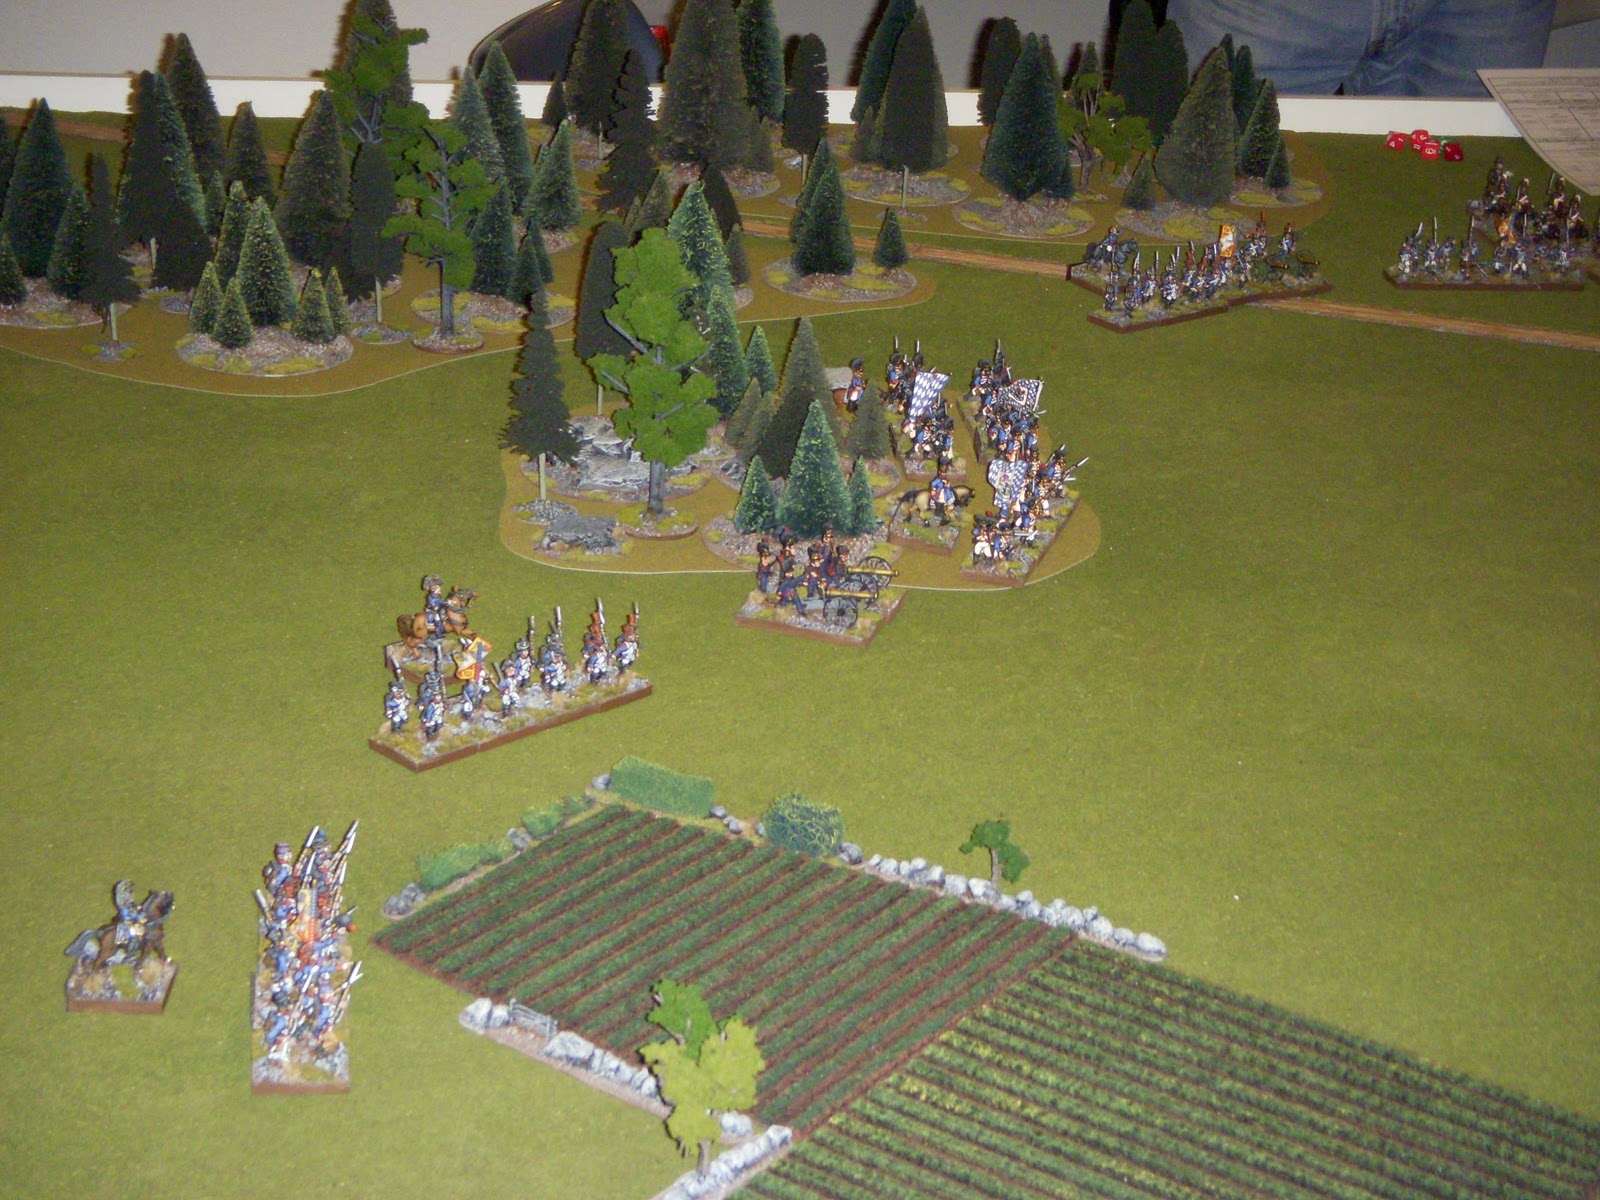
The center of the Austrian army, deployed on a Class II ridge

 French right/center - Bavarians in the woods in the center of the photo

 Closeup of the Austrian artillery on the ridge in the center of the Austrian army

Austrian cavalry brigade on the Austrian left flank

The Austrians outnumbered the French by 30% at the start of the game, and had a significant Army Morale Point advantage (20 to 13).

More to follow.